Repetition and variation
- Categories:
- generative art
In this post we will look at how to use very simple repetition and variation in generative art, using Python and generativepy. For more information on generativepy see PythonInformer.com.
We will keep things very simple, just using simple square shapes and varying the colour, size, and orientation in different ways.
Basic image and code
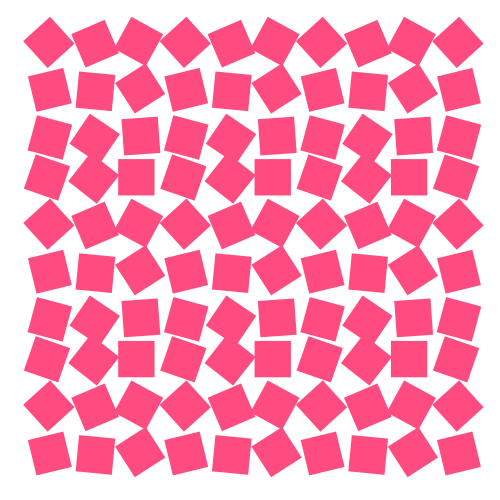
Our starting image will be based on a set of repeated squares, like this:
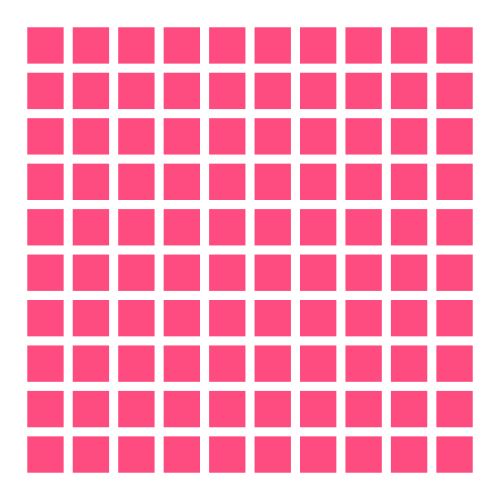
Here is the code to create this image:
from generativepy.drawing import make_image, setup
from generativepy.color import Color
from generativepy.geometry import Square

import random
import math

def draw1(ctx, width, height, frame_no, frame_count):
    setup(ctx, width, height, width=11, background=Color(1))

    for i in range(1, 11):
        for j in range(1, 11):
            ctx.save()
            ctx.translate(i, j)
            Square(ctx).of_corner_size((-0.4, -0.4), 0.8).fill(Color(1, 0.3, 0.5))
            ctx.restore()

make_image("simple-shapes-repeated-squares.png", draw1, 500, 500)
To recap how generativepy works, the make_image function creates an image, 500 pixels square, saved to the file shown. The function calls the supplied function that we have called draw1 to do the actual drawing.
draw1 accepts a drawing context object ctx that it will draw to.
The generativepy function setup sets the user dimensions of the image to 11 units. The output image is still 500 pixels square, but within the draw1 function this space is scaled to be 11 units square (so 1 unit is about 45.5 pixels).
Let's look at the drawing loop in more detail:
for i in range(1, 11):
    for j in range(1, 11):
        ctx.save()
        ctx.translate(i, j)
        Square(ctx).of_corner_size((-0.4, -0.4), 0.8).fill(Color(1, 0.3, 0.5))
        ctx.restore()
We have a double loop where i and i both loop from 1 to 10, creating a grid of 100 squares at positions (1, 1), (1, 2) ... (10, 9), (10, 10).
Before drawing each square, we translate to the position (i, j). This translation means that if we draw a square centred on (0, 0) it will appear at position (i, j). The save and restore calls before and after the drawing ensure that the drawing space is returned to its original state after drawing each square.
This means that every square is drawn in the same way:
Square(ctx).of_corner_size((-0.4, -0.4), 0.8).fill(Color(1, 0.3, 0.5))
The square is drawn at position (-0.4, -0.4) with a size of 0.8, which means it is centred at (0, 0):
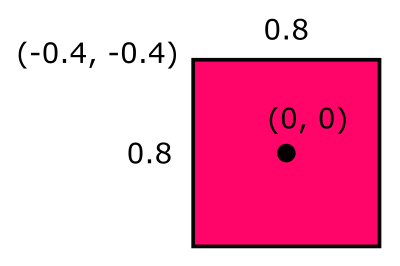
The fill colour is set to an RGB value of 1, 0.3, 0.5, a hideous pink colour.
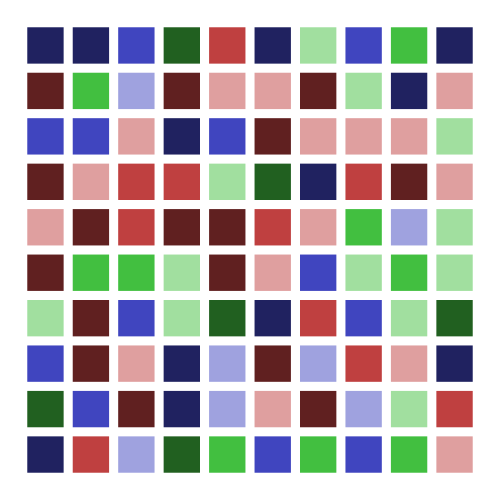
Colour variation
In this case we will vary the colour of each square randomly. The colour of each square will be picked at random from a limited set of related colours:
Here is the code to do it:
colors = [
    Color.of_hsl(0, 0.5, 0.25),
    Color.of_hsl(0, 0.5, 0.5),
    Color.of_hsl(0, 0.5, 0.75),
    Color.of_hsl(0.33, 0.5, 0.25),
    Color.of_hsl(0.33, 0.5, 0.5),
    Color.of_hsl(0.33, 0.5, 0.75),
    Color.of_hsl(0.66, 0.5, 0.25),
    Color.of_hsl(0.66, 0.5, 0.5),
    Color.of_hsl(0.66, 0.5, 0.75),
]

def draw2(ctx, width, height, frame_no, frame_count):
    setup(ctx, width, height, width=11, background=Color(1))

    for i in range(1, 11):
        for j in range(1, 11):
            ctx.save()
            ctx.translate(i, j)
            color = random.choice(colors)
            Square(ctx).of_corner_size((-0.4, -0.4), 0.8).fill(color)
            ctx.restore()

make_image("simple-shapes-random-colours.png", draw2, 500, 500)
We have used HSL colour space to create nine colours. In HSL:
- The first number is the hue (basic colour), on a colour circle that goes from red to green to blue and back to red as the value moves from 0.0 to 1.0. We use values 0.0, 0.33, and 0.66 to obtain pure red, green and blue colours.
- The second number is the saturation, or intensity, of the colour. We use 0.5 to create slightly muted colours.
- The third value is the lightness. 0.5 gives the basic colour at full brightness. Lower values take the colour towards black, higher values take the colour towards white. We use 0.25, 0.5 and 0.75 to give dark, normal and light versions of each primary colour.
Drawing the squares works in a similar way to the previous example, except for the colour selection:
            color = random.choice(colors)
            Square(ctx).of_corner_size((-0.4, -0.4), 0.8).fill(color)
random.choice picks a random element from the colors list for each square.
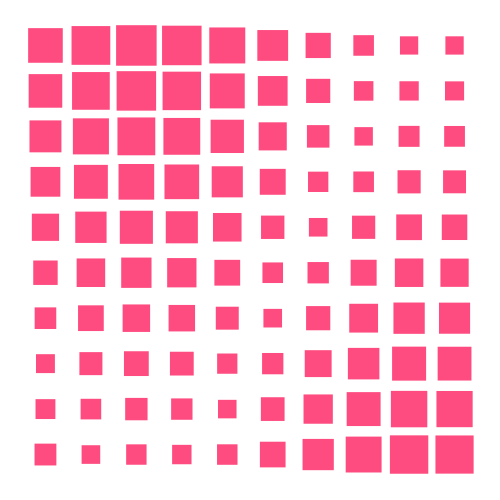
Size variation
Next, we will try changing the size of the squares. This time we will not make the sizes random, but instead, we will make them vary across the image:
Here is the new code:
def get_radius(x, y):
    return math.fabs(math.sin(x/2) + math.cos(y/4))/8 + .2

def draw3(ctx, width, height, frame_no, frame_count):
    setup(ctx, width, height, width=11, background=Color(1))

    for i in range(1, 11):
        for j in range(1, 11):
            ctx.save()
            ctx.translate(i, j)
            radius = get_radius(i, j)
            Square(ctx).of_corner_size((-radius, -radius), 2*radius).fill(Color(1, 0.3, 0.5))
            ctx.restore()

make_image("simple-shapes-varying-size.png", draw3, 500, 500)
Here the "radius" of the square (actually, half its width) is calculated as a sine function of the coordinates of the centre of the square. Don't worry too much about the get_radius function, it returns a value between about 0.2 and 0.45 that varies smoothly over the image.
The key change to the drawing code is this:
            radius = get_radius(i, j)
            Square(ctx).of_corner_size((-radius, -radius), 2*radius).fill(Color(1, 0.3, 0.5))
We get the radius, then draw the square using the radius value instead of the default 0.4.
Orientation variation
This time we will rotate each square by a different angle. Again, the angle will be based on the position of the square in the image, rather than being random:
Here is the code:
def get_rotation(x, y):
    return (x%3)/3 + (y%4)/2

def draw4(ctx, width, height, frame_no, frame_count):
    setup(ctx, width, height, width=11, background=Color(1))

    for i in range(1, 11):
        for j in range(1, 11):
            ctx.save()
            ctx.translate(i, j)
            ctx.rotate(get_rotation(i, j))
            Square(ctx).of_corner_size((-.4, -.4), 0.8).fill(Color(1, 0.3, 0.5))
            ctx.restore()

make_image("simple-shapes-varying-rotation.png", draw4, 500, 500)
Here the angle is obtained from the sum of the x and y positions, divided by a factor. However, the x and y coordinates are taken modulo 3 and 4 respectively. This means that the same set rotations are applied to each 3-by-4 block of squares in the image. Again, the exact method isn't important, it is just another way of varying the values.
Here is the inner loop:
            ctx.save()
            ctx.translate(i, j)
            ctx.rotate(get_rotation(i, j))
            Square(ctx).of_corner_size((-.4, -.4), 0.8).fill(Color(1, 0.3, 0.5))
            ctx.restore()
This time, as well as translating the space, we rotate the space too. Rotation always happens around the origin (0, 0). Since the translation ensures that the origin is at the centre of the square each time, it means that each square is rotated about its centre.
Applying all the variations
Here is what happens if we apply all four variations at the same time:
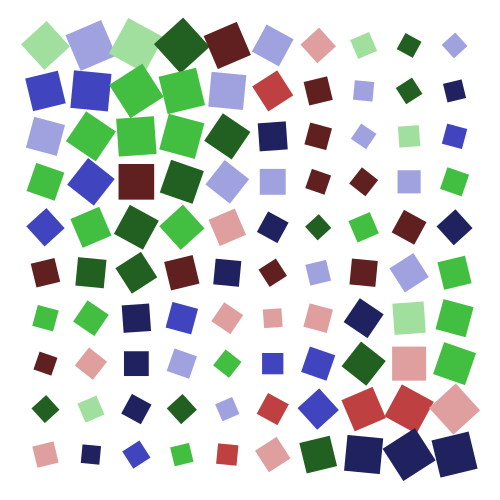
This might not be the best piece of generative art you have ever seen, but that is hardly surprising since we have just taken an array of squares and applied some very basic variations to them. It is just a simple illustration of how repetition and variation work. To achieve more interesting results takes time, imagination and experimentation!